InSight contains a function to correct for uneven illumination and other vignette-like effects. The function works best if the correction is applied to an image of the actual sample, so before using it make sure that the sample is placed under the microscope and the other camera parameters are adjusted. Then press the Illumination Correction button found under the Color button
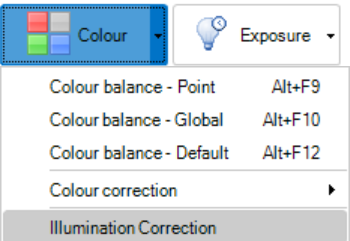
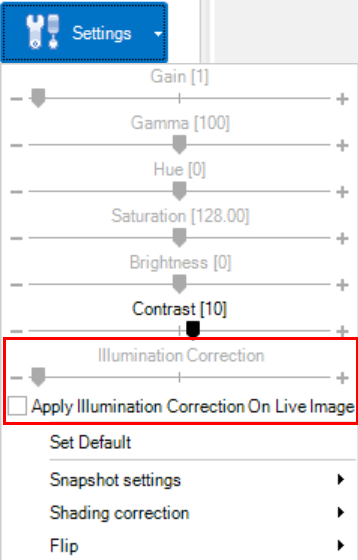
Once the calculation has completed, the Illumination Correction can be controlled in the settings drop-down. If the strength is set to 0 the correction is disabled. Setting it to 1 will give its default correction, but the slider can be adjusted if needed. The correction can also be applied to the live image if the checkbox is checked. Note that this may incur a small decrease in the frames pr. second realized in the live image.
The expected results of applying the correction is shown below. Note that this correction is especially useful when working with extended field or 3D stitching as it can decrease visible seams in stitched images.

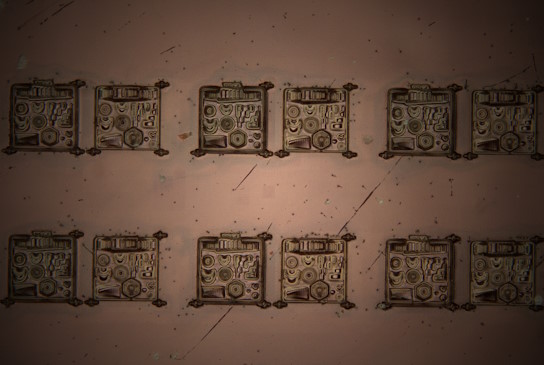
Image with illumination correction applied Original image without illumination correction.