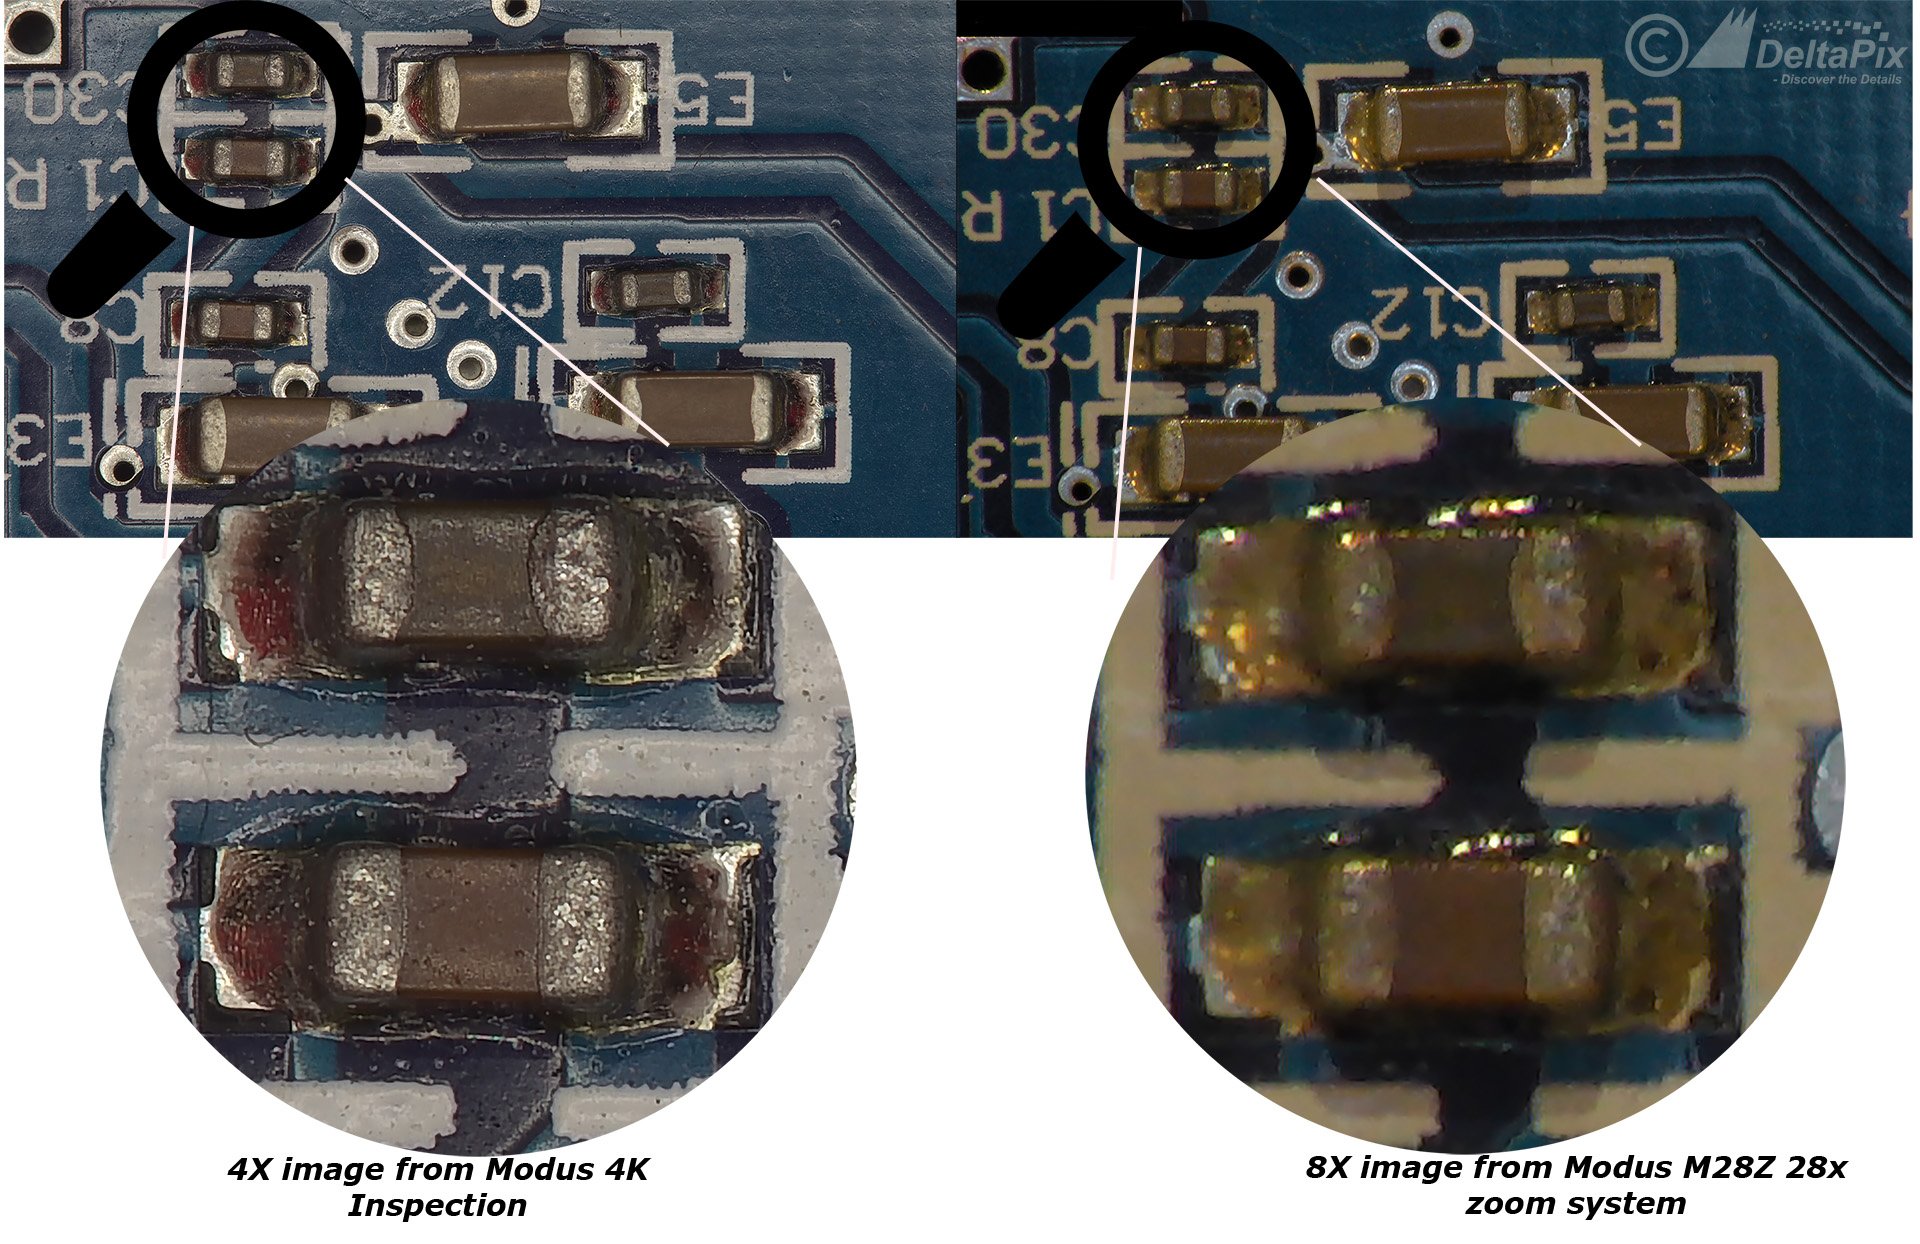
Inspection systems, comparing of systems with fixed high-resolution optics and systems based on compact optics with large zoom range (>10x).
Optical resolution
Inspection systems (or digital microscopes as named by some manufacturers) with high zoom range based on commercial camcorder modules are typically based on a very small sensor, in order to keep the optics, compact and the cost low. Typically, such systems use a 1/3 inch or even smaller sensors, like in mobile phones. The sensor size is normally not officially published in the datasheets, as very small sensors are not considered as being a good fit for quality imaging. The main reason is that the combination of small sensors and high pixel counts makes it very difficult to make lenses which can resolve the details required to match the resolution of the sensor. This is especially the case with zoom optics with a high zoom ratio, made from many optical elements, of which each one tends to filter out details. Even that such systems have 1080p or even 4K resolution, the real achieved resolution is often in the VGA range.

Inspection systems with fixed optics can achieve real 4K or even higher resolution, both because the camera sensors are typically much larger than the sensors used in zoom systems, allowing more glass and larger lenses and because the lenses can be made of much fewer optical elements.
The result is, that even the zoom-based inspection systems can zoom in to explore more details, these details might not be much better resolved than in a system with fixed optics, using digital zoom. The worst part is that details which can be discovered when in high zoom level, might not be possible to notice when in the overview mode. With a fixed 4K magnification system and a high-resolution monitor, the small vital features/artifacts of the inspected sample will often show up

With a fixed optics inspection system, the distortion is very low, often less than 0.3% even in the corners. For a zoom system without compensation, the distortion might easily go well beyond 10%.
Optical horizontal distortion
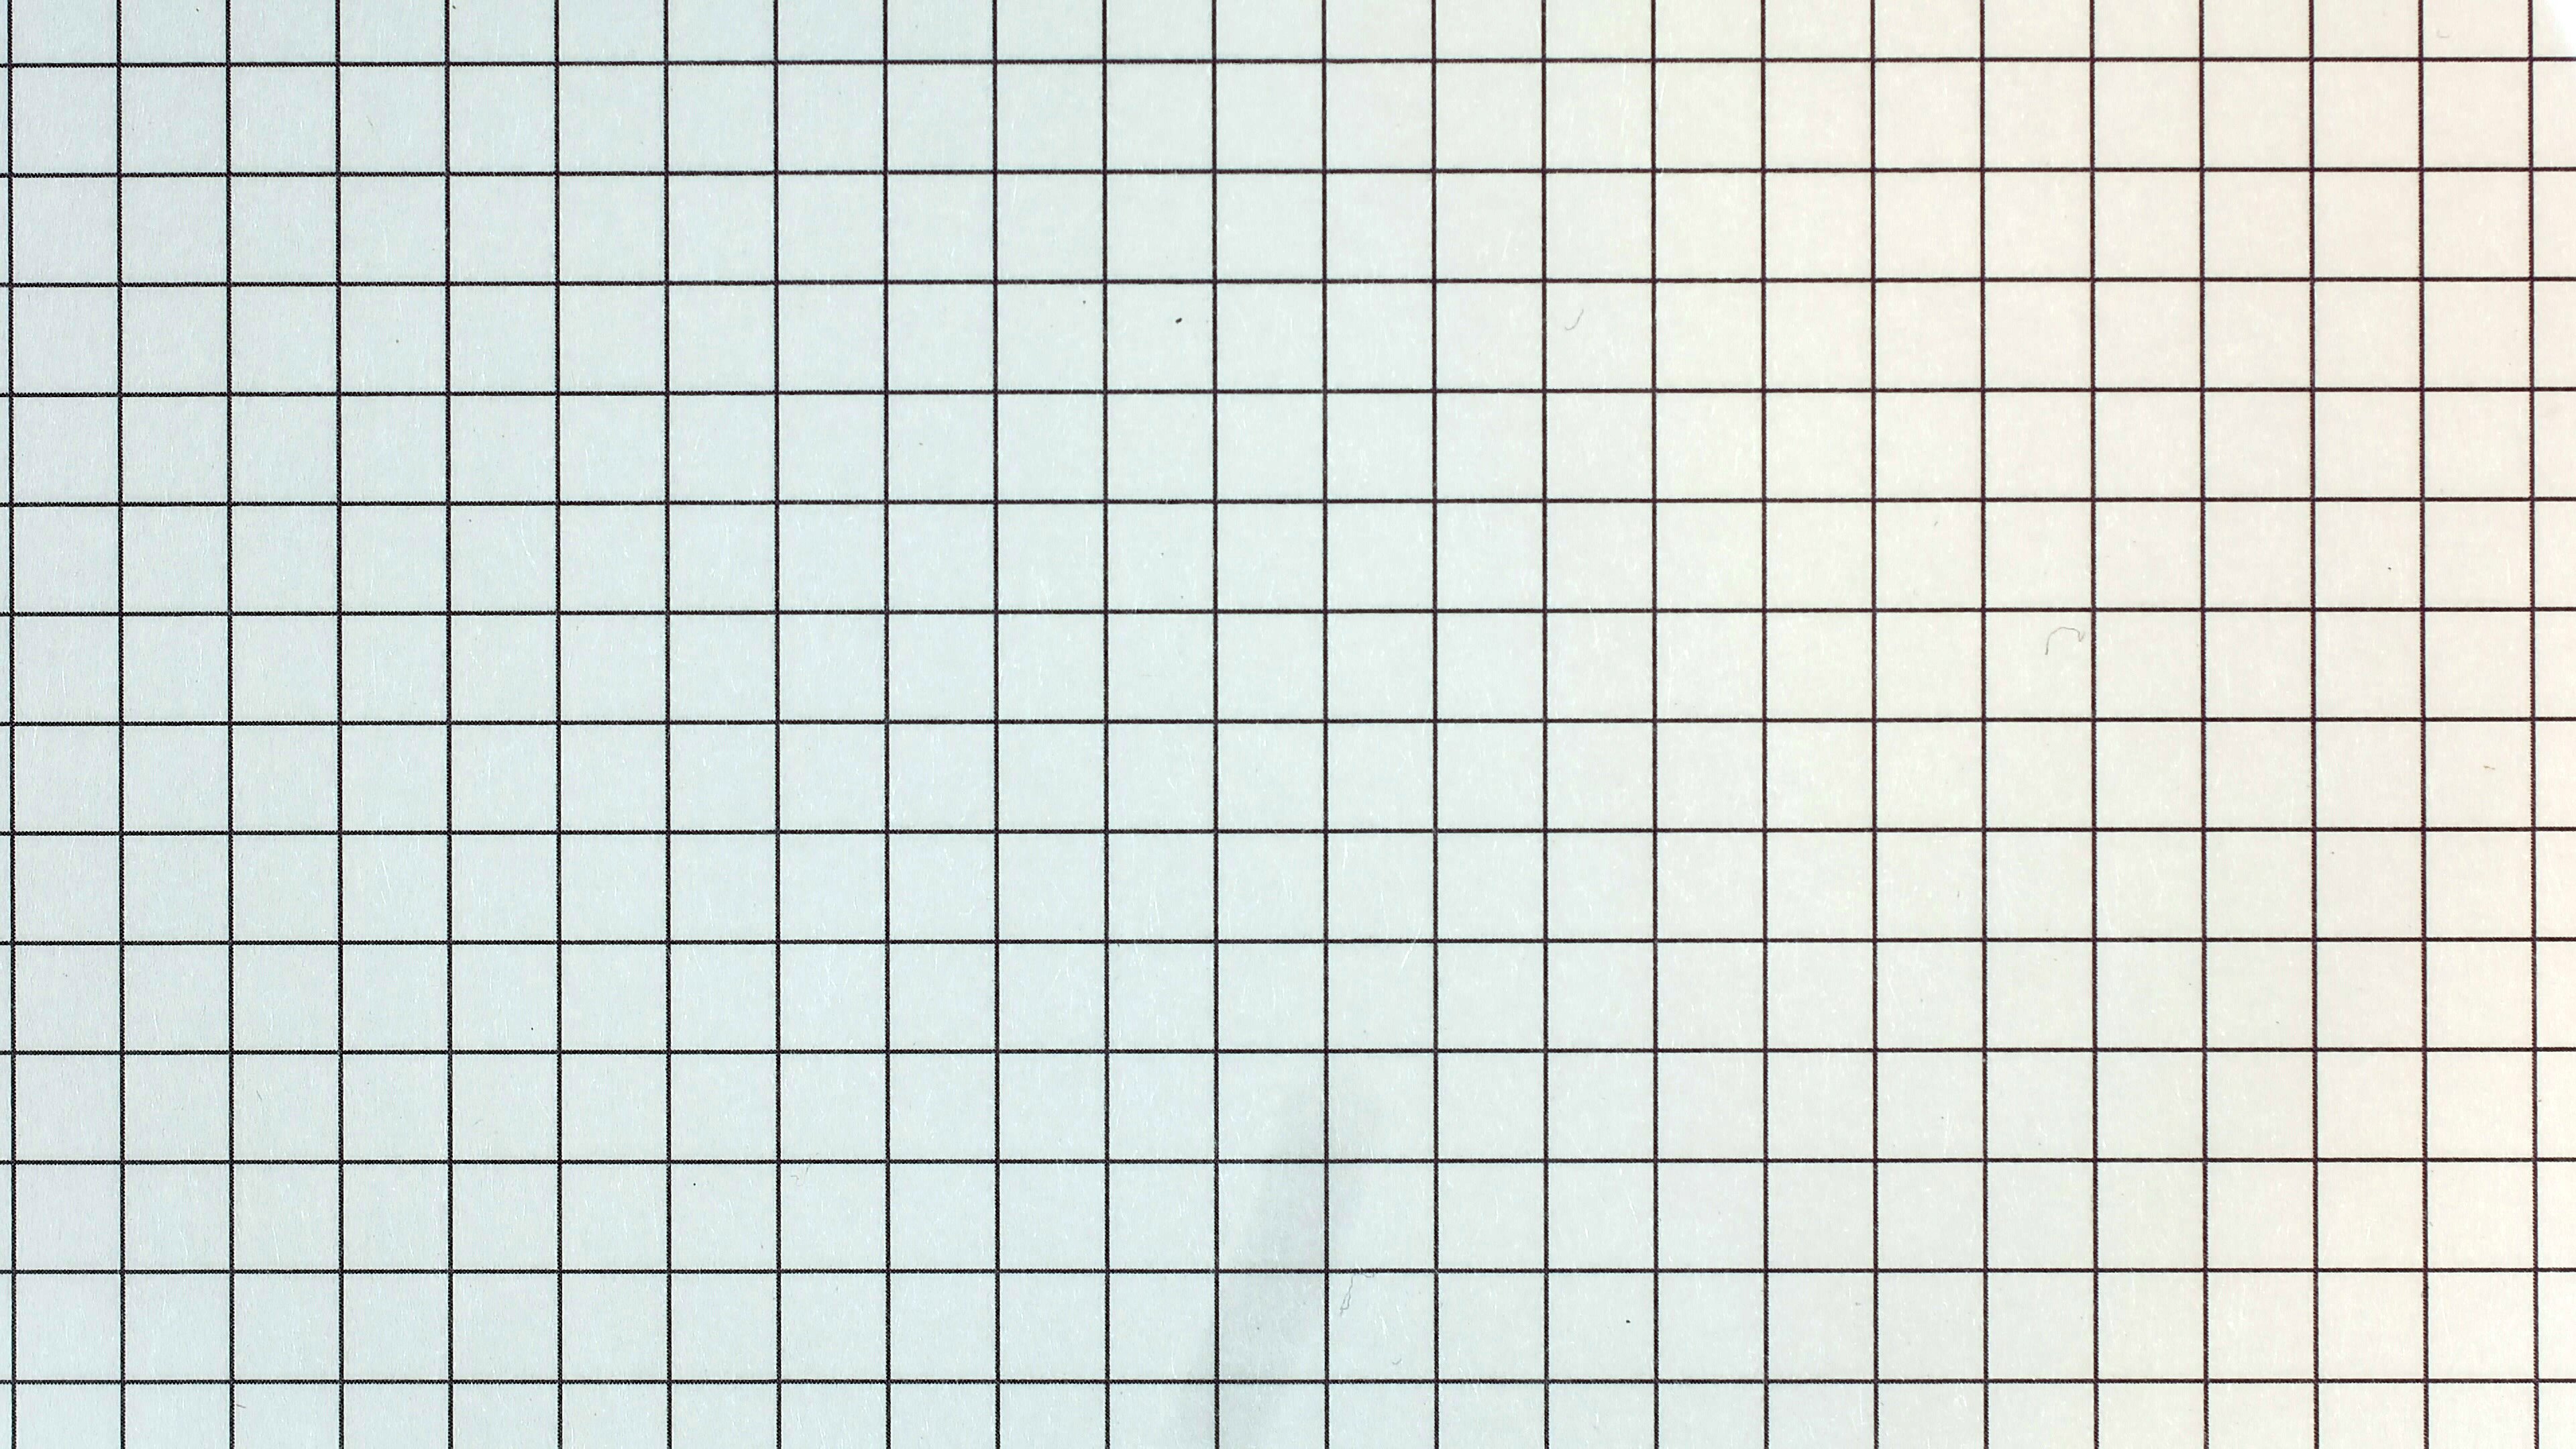
The optical distortion of lines in the horizontal plane in a zoom system can be severe, especially at low magnification, showing up as bent lines especially close to the edges. This does not matter in a consumer camcorder, for which the optics are originally made, but for serious industrial use, it can cause faulty measurements. Some zoom based inspection systems have a way to digitally compensate for this distortion. The challenge is, that this distortion is nonlinear, and changes throughout the zoom range, making precise measurements almost impossible except in the zoom position in which the compensation is done.

Influence from missing telecentricity
Compact zoom lenses are far from being telecentric. This means that the magnification changes dependent on the distance from the lens, even that the focus and zoom have been fixed. If two parts having the same measures in the horizontal plane, but have different height, they will measure differently in the horizontal plane in a none telecentric system. As zoom systems often have large focus depth, the problem gets even worth, as the difference in height can not be seen.

To achieve precise measurements, a telecentric or near telecentric lens must be used. Typically, the diameter of the lens must be large compared to the FOV in order to be telecentric. As the zoom systems typically have very narrow internal optical elements due to the small sensors, the telecentricity is poor, even at a small FOV, making measurements less reliable. Fixed inspection systems, especially the 4K versions, use large optical lenses which can be complete telecentric or near telecentric, thereby making measurements much more reliable on non-flat surfaces, or on samples where the distance to the optics can have minor variations.
(for an explanation on telecentricity please check out here: Explanation )
Conclusion
Inspection systems based on compact zoom lenses can make good use in laboratories as a tool to explore unknown details in various samples, due to the ability to go from large overview to microscopic details. For fast inspection to catch faulty or out of range samples, and/or precise measurements, systems based on fixed high-resolution optics and cameras, is a much better choice.

